‘Tutorials’ Category

How to Graft a Fruit Tree

Posted on May 23rd, 2011 by Tonia 1 Comment

Mike and I share a love of fresh fruit- especially the kinds that can be grown in our northern climate. Where we live- the Chequamegon Peninsula- is considered one of the best regions to grow fruit in the north part of the country. Apple orchards are everywhere up here, and the town to our north hosts a huge Apple Fest every October.

Fruit trees bring beauty to any property with their gorgeous and divine-smelling blossoms. They’re small {especially if you stick to the dwarf varieties and prune them} so even if you don’t own much land, you can enjoy them! We planted a Compass Cherry tree in our tiny front yard when we lived Duluth– it was a housewarming gift from my dad- and it did great and gave us juicy dark red cherries every June!

Go do some research, figure out what types grow in your zone, and place an order with these guys! You can thank me later when you’re enjoying your first homegrown fruit salad. 😉

Now that we own enough land to do it, we’re planting our own orchard {not a commercial one- just for us and family/friends/locals who want to come and pick}. We’ll be doing some apples, but since there are already so many apple orchards around, our focus will be different varieties of cherries, pears, plums, and apricots. We’re also determined to coax a peach tree or two to survive up here…but we’ll see about that…

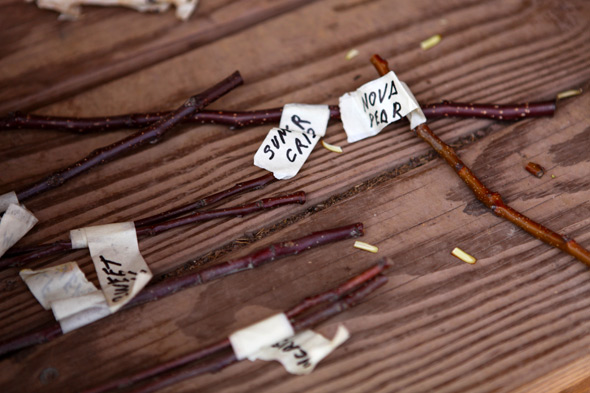
We splurged and purchased about 11 potted fruit trees from the Winter Greenhouse that are already several years old, but most of our trees will be started as scions, which need to be matched with a rootstock. This is the more affordable way to go about growing fruit trees, if you plan on having a lot of them. It also forced us to learn the valuable skill of grafting.

Our friendly University of Wisconsin Extension Agent stopped by our house and gave us a lesson {it’s his job to assist anyone in the area who asks for help with anything agricultural. And we didn’t have to pay him because the UW does. What a sweet deal, huh??!?} After the lesson, Mike got busy with all the little scions that have been sitting in our ‘fridge.

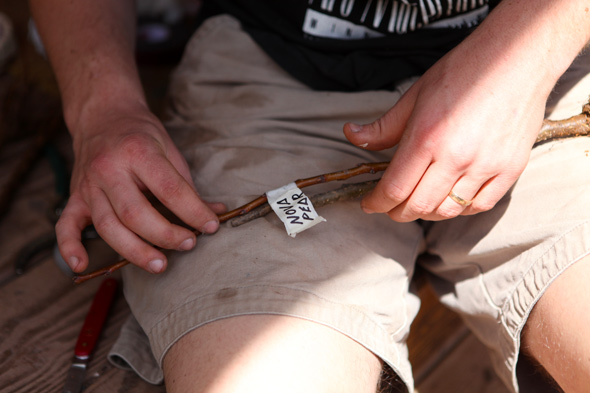
Here is a visual guide to the process, but we are not professionals, so if you plan on trying this yourself, I would recommend reading one of these books before you start.

Pick a rootstock and a scion that are similar in size.

We’ve chosen to do a tongue-and-groove joint {there are several different ways of joining grafts}. Shave one end of the scion with a sharp pocket knife in one smooth stroke on each side to create a nice point. The cambium {the inner layer of the scion} is now exposed, and this is the part of the scion that fuses with the rootstock.

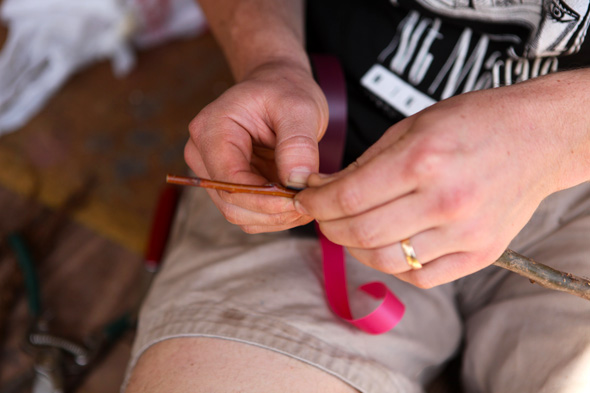
Notch the end of the rootstock with the pocket knife, creating a slit in which the pointy scion tip will fit. The *most* important thing here is for the scion’s and rootstock’s cambiums to be perfectly matched up: living tissue in contact with the other living tissue.

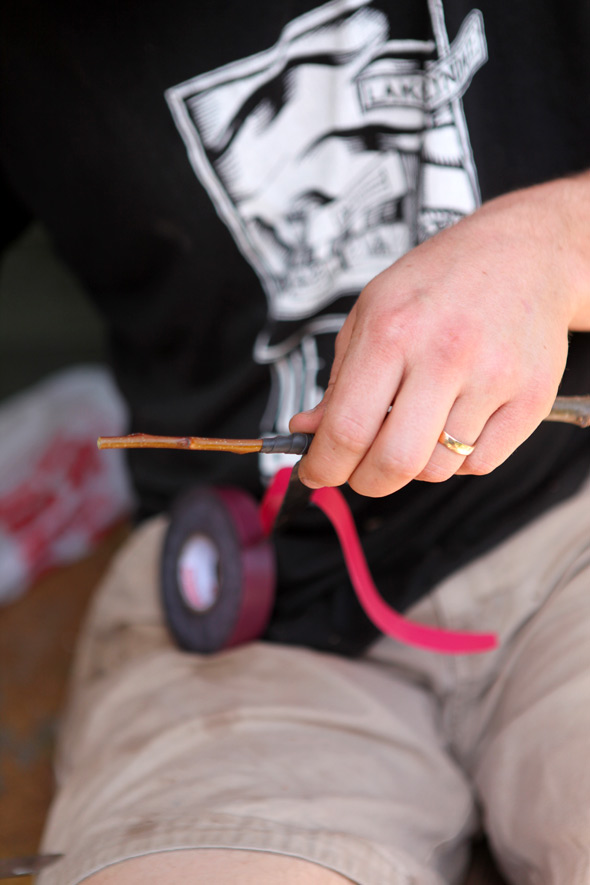
Holding the scion and the roostock together firmly, wrap the connection with stretchy rubber tape- pulling the tape tight as you do.

Ta-da! Look how cute. This one’s ready to grow big and strong.

Keep it out of frost for now, and do not touch the graft! It is extremely fragile until it heals. If you, or anything else, bumps it at all, the cambiums could become mismatched and the two parts will not fuse together.

Now just repeat the process a bunch more times…

How to Make a Low-Tunnel Bender

Posted on May 16th, 2011 by Tonia 13 Comments

Being that we live about as far north as is possible in the state of Wisconsin, we need a little help extending our growing season. Mike has been pouring over this book for the past couple months, and now that our soil is finally workable {i.e. not frozen solid anymore}, we’re ready to try what we’ve learned.

The main strategy is to cover garden beds with low-tunnels, to trap in the sun’s heat and create a mini-greenhouse over the bed. Low-tunnels are made from conduit piping and covered with either plastic or reemay {light polyester fabric}, depending on what the crop is. Garden supply catalogs and websites sell the conduit {but you can also find it at the hardware store- for a better price most likely} as well as bending tools to help you to shape the conduit into an arch. These bending tools usually cost over a hundred dollars, so Mike and I were determined to figure out a different way to bend the piping.

Mike bustled around in his “wood shop” {AKA our garage. He says that “a house for your car” is a ridiculous notion, and much prefers to use the space to build us things} for 15 minutes and proudly announced that he had figured it out and we would not be needing to buy the pricey conduit bender. Yippee! I am so glad I married a handy guy. He really pulls his weight around here. 😉

For you other cold-climate gardeners out there, here’s a glimpse at Mike’s homemade conduit bending contraption. I hope it will help you avoid spending big bucks in the making of your low-tunnels:

And here’s the finished product, ready to be covered…

This is our “kitchen garden” right next to the house. It will have mostly greens and herbs in it. The larger garden, on the hill behind the barn, will grow everything else {potatoes, squash, corn, etc., etc., etc.} Potatoes and greens will go in the ground this week!

“Wow! Those are some good-looking beds,” you might be thinking. Well yes, why thank you. I have spent the last two days working that dirt and pulling roots and weeds and rocks out. My back is mighty sore, but we’re almost done, and I cannot waaaait for the first greens to start popping up!!

How to Make Natural Fabric Dye

Posted on May 12th, 2011 by Tonia 68 Comments

A close friend of ours got married last weekend, and naturally I wanted something nice to wear to the wedding. Buuuut, we live several hours away from any semblance of a mall. This is a blessing and a curse…on one hand, we are never tempted to run to Target to buy random stuff. On the other hand, I can’t just run to Target and buy a cute maxi dress whenever we’re invited to a wedding. So, I decided that this would be a great opportunity to hone my sewing skills, and make something rather than buy something. I hurried off to the fabric store in town, hoping for a beautiful spring-y colored fabric to jump out and inspire me.

The only fabric store around here is a quilt shop, which carries almost exclusively cotton fabric in quilt-y patterns, if you know what I mean. Not exactly dress material. I was feeling a little woeful until I spotted a bundle of 100% organic white cotton, and it dawned on me that I could dye it to be whatever cheerful spring color I wanted.

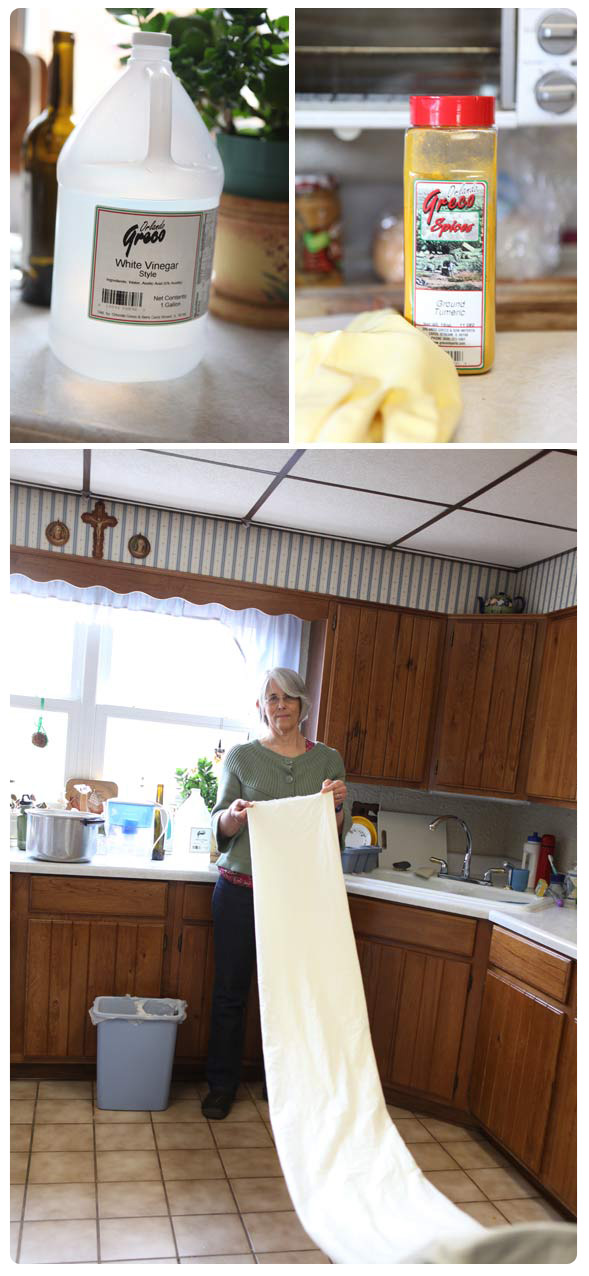
With the white fabric in hand {luckily it was a very high quality cotton!} I went home and commenced my research about fabric dyeing, which was a completely new adventure to me. Not only did I want to make sure my finished product would be color-fast so that I could wash it and care for it like normal clothes, I also needed to make the dye from biodegradable and all-natural ingredients. I found this great blog post {on one of my favorite blogs! They have fantastic posts!} about using food to dye fabric, and this list of all-natural dye sources, which lead me to choose Tumeric in hopes to achieve a bright yellow color. It turns out that natural fabric dyeing is actually quite simple, with quick and stunning results.

Supplies:

White vinegar {for plant dyes} or salt {for berry dyes}

Dye source of your choice

Large aluminum pot {aluminum helps to set the dye in the fabric, for some chemistry-related reason I don’t fully understand. Just go with it.}

White or light colored fabric {natural fabric like silk, cotton, wool, and linen work best}

Rubber gloves

{My mom and I found all the supplies, besides the fabric, at the local supermarket in my Grandma’s neighborhood. So easy and cheap!}

Steps:

Wash and dry your fabric according to its type. Mine was 100% cotton, so I washed it on cold and dried it on low. The purpose here is to get the starch out of the fabric.

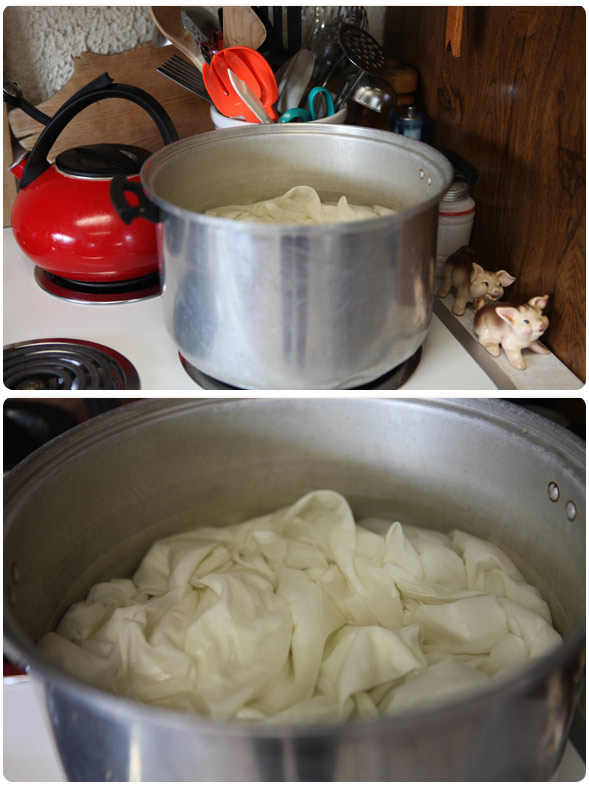
Once it is clean and dry, simmer your fabric in the large aluminum pot for one hour in a mixture of water and vinegar {four parts water to one part vinegar}. The vinegar acts as a fixative. If you’re using berries as your dye source, use salt instead of vinegar {1/2 cup salt to 8 cups of water}.

{Isn’t my Grandma’s kitchen SO cute? A big thank-you to her for letting my mom and me do this whole project at her house! It was really fun to hang out and make something together!}

Rinse and ring out your fabric thoroughly in cold water until it no longer smells like vinegar, and set it aside- still damp- while you prepare your dye bath.

Fill the aluminum pot with fresh water- no vinegar this time- and heat it up to a simmer.

Add your dye source to it until the water is visibly tinted. I sprinkled Tumeric into the water and stirred until it dissolved and I could tell that the color was opaque enough to stain my fabric. It was about 1/2 cup of Tumeric. You’ll have to just play around with this, there’s no exact measurement since it depends on how dark/light you want your fabric to be in the end. You can dip a tip of your fabric into the bath to test its strength.

Let the dye bath simmer without the fabric in it for 10 minutes, and meanwhile, tie your fabric in any pattern you want with cotton string. Where the string is, the dye will not penetrate as well, leaving white or very light-colored areas for a “tie-dye” effect. This is an optional step- you could just dye the fabric without tying it.

Submerge your fabric in the dye bath and simmer for 15 min. Turn/stir the fabric every once in a while to make sure it is not sticking and burning on the bottom of the pot.

After 15 minutes, turn off the heat and let the fabric sit in the pot for as long as you want {overnight if you want the deepest possible color.} I only let mine sit for 10 minutes because I wanted a soft, pastel color.

Remove the fabric from the dye bath when you have reached a color that is about two shades darker than your desired color, untie the string, rinse with cold water and ring gently until the water runs clean and no more dye comes out. It will lighten about one shade during the rinsing step.

Hang the fabric to dry, or put it in the dryer on “air fluff” until it dries. It will lighten about one more shade as it dries. Now it is ready to be made into whatever beautiful creation you can think of!

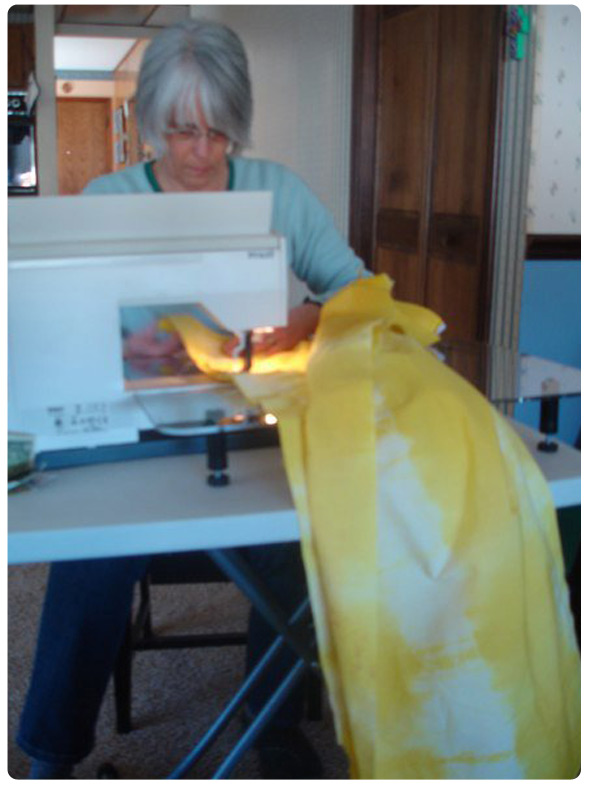
My mom took over the project at this point, because it was clear that my meager sewing skills were not going to cut it. She {without a pattern!} sewed me a beautiful pleated, floor-length skirt with a hidden zipper in the back. THANK YOU, MOMMY! I looooove it, and it was perfect for the wedding!

How to Transplant Seedlings

Posted on April 24th, 2011 by Tonia No Comments

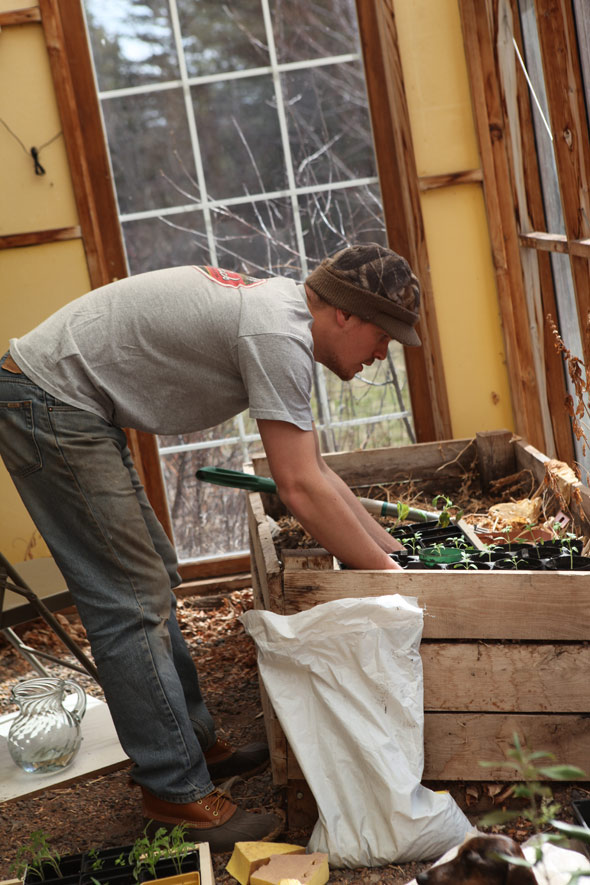
While we were off gallivanting, my dad was starting seeds for us {thank you, Poppy!} Now those seeds are happy little plants, ready to be transplanted to bigger pots. Their next home will be the real ground outside but for now they’re happily living in our warm and sunny greenhouse. I would happily live in the greenhouse too, if I could. It was 95 degrees in there the other day!

Outside the glassed-heaven, it’s a different story. In fact, it snowed last night. But the winter-like weather hasn’t stopped a few brave perennials from popping up:

A bumblebee! That’s a sure sign that warmer temps are on their way…..Until then, though, I’ll be in the greenhouse:

How to Transplant Seedlings:

Fill your planters with potting soil. We use organic potting soil that has some peat mixed in with it, but does not have anything else in it {no MiracleGrow or anything}.

Moisten the potting soil a little, so it sticks together when you press it- and let it sit for a few minutes.

Use your finger to make a small hole in the center of each planter, about 1 1/2 inches deep.

Hold your seedling by the leaf {never the stem} and carefully separate it from the bunch. I use a small knife for this, because the roots of each seedling are usually entwined with its neighbors roots, and you need to carefully sever them. If the roots on any given seedling are longer than two inches, you can trim the roots with the knife. This will help the seedling to not get too “leggy”.

Place the seedling into one of the holes you created. Gently poke the roots down into the hole with a pencil or your finger, and fill in the hole with potting soil. Press the seedling down so that it is secure and stands on its own.

Let the newly transplanted seedlings rest for several hours before watering them. They need lots of sunlight and water over the next week in order to survive, so watch them closely and move them around the house if necessary to ensure they get enough light. If you have a grow light, even better!

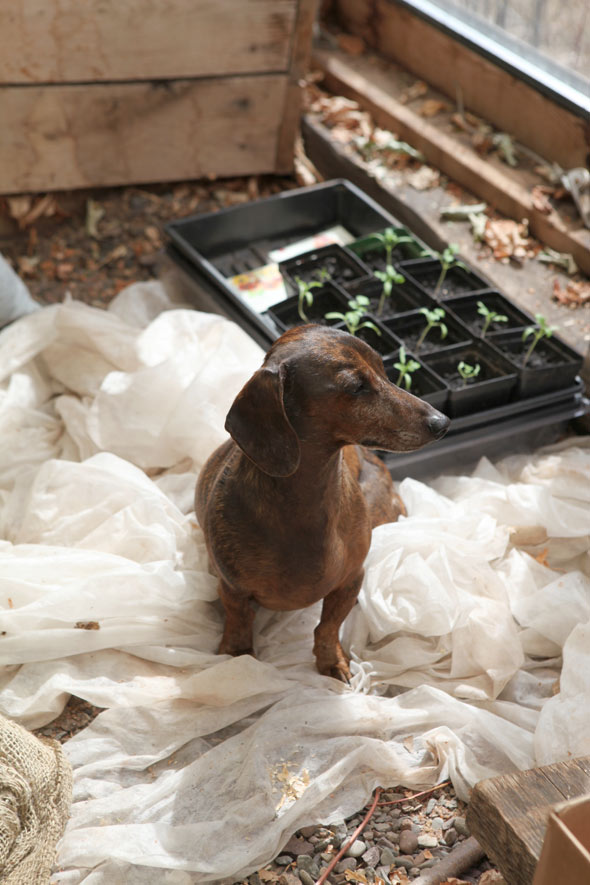
And now, a little tribute to our Sunshine {our dog Charlie} who brightens our day every day, no matter how winter-like it is outside.